Broke down yesterday with no spark. After a tow home and bit of fiddling about with a multi meter and a I found it was the pickup canister that was knackered. These little buggers are supposedly repairable and BMW don't supply any of the innards separately. A new one is £258 and a second hand one is about £100, Well according to Motoworks they are. But after some strong coffee and a lot googling I found out that like most things they can be mended. So after a desperate rummage through my hoarding boxes in the attic I eventually tracked down a component I remember stealing when I was a student about 15 years ago. This was fitted after a swift but ruthless application of the dremel, a dab of the soldering iron and a good blob of epoxy resin and it was as good as new. If I had to buy the hall sensor transistor it would have cost about a pound.
Its probably worth noting that the whole plastic module is a common component in the automotive world and can be bought for little money and you'd save all the cutting and gluing. Infact it would be far easier to do this but if you know me at all you'd realise that I cant do things the easy way.
I've not explained how to take the can apart because it is reasonably obvious when you come to do it. However its important to say that if you're not careful you'll overstretch the advance springs and as explained above spare parts are not readily available...
They say a picture paints a thousand words so I'll leave the fiddley detail to the photos.

Fig 1. Complete but broken unit

Fig 2. Case partially ground away.

Fig 3. Case partially away.
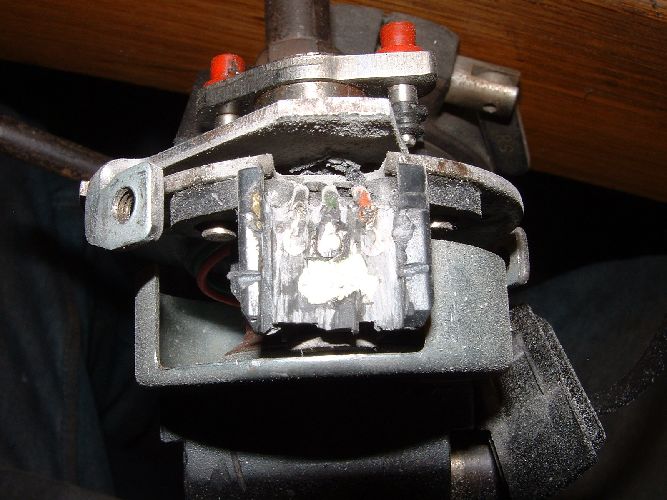
Fig 4. Small metal bit removed. This is important - keep it
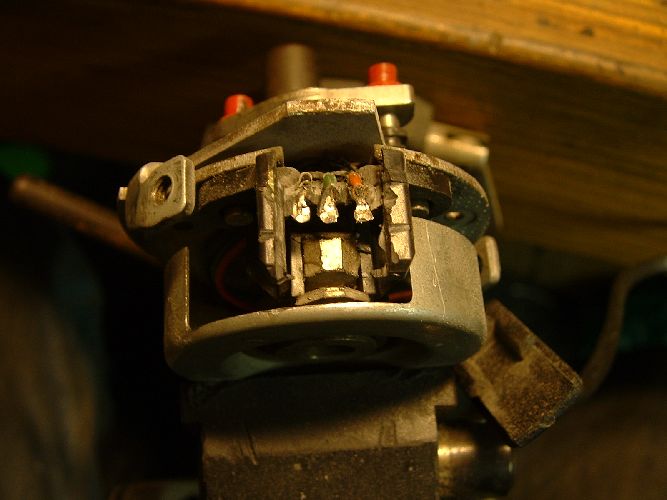
Fig 5. Broken sensor removed
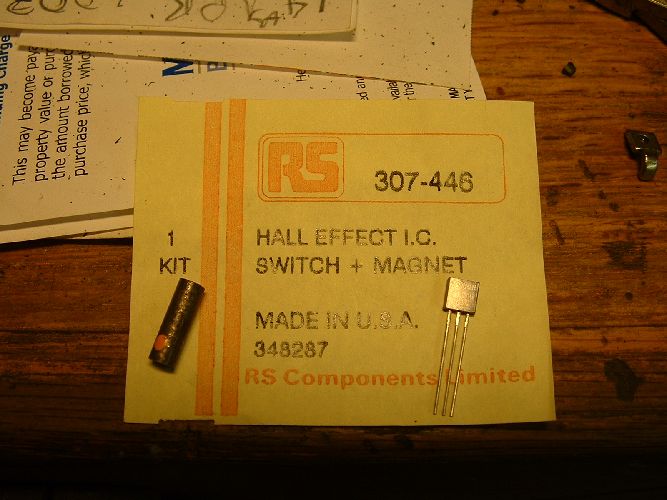
Fig 6. Replacement hall effect (magnetic) transistor.
This part is now obsolete but there are many alternatives still available.
eg RS part No 181-1441 , Honeywell SS443 = £1.11
This is a unipolar (not bipolar) latching (not ratiometric) switch.
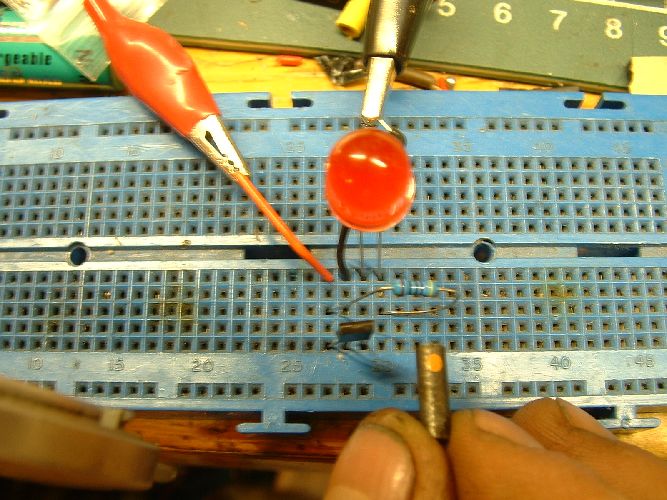
Fig 7. Testing hall switch. No magnet OFF
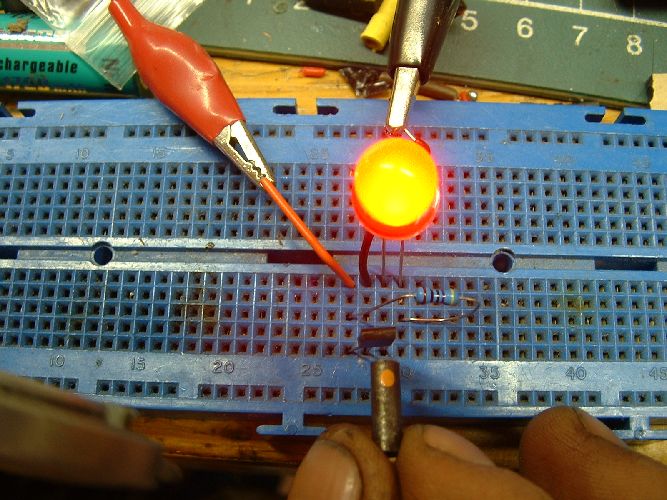
Fig 8. Testing hall switch. Magnet ON
Its important to check the polarity of the magnet is the same as the magnet in the broken sensor or else it wont work.
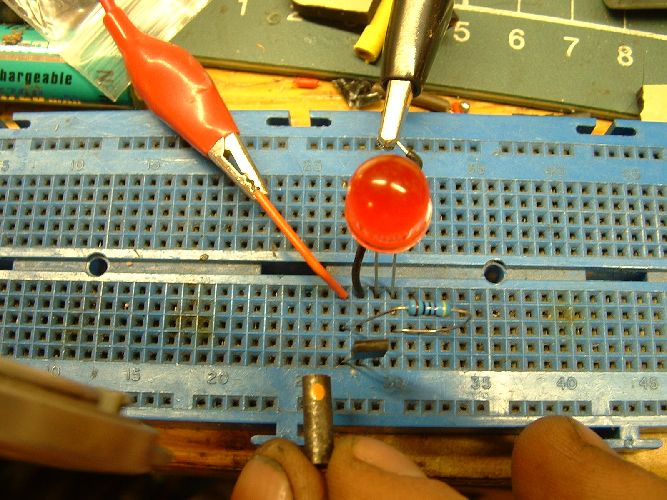
Fig 9. Testing hall switch. No magnet OFF
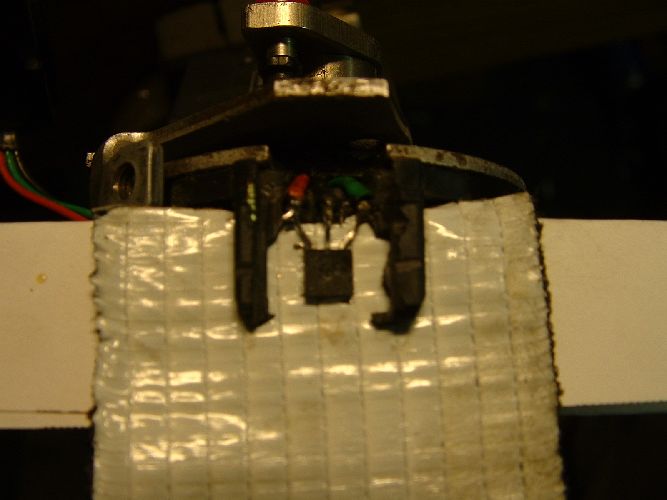
Fig 10. Hall transistor soldered in place with some tape keeping it in position.The wires are in a different order so take note!
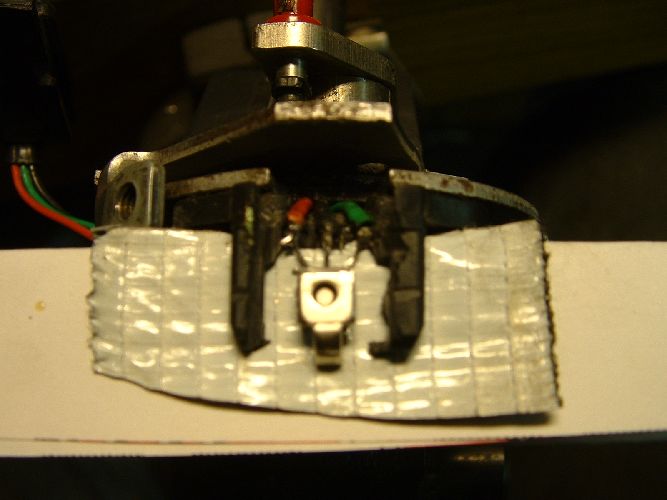
Fig 11. Small metal bit replaced. This forms part of the magnetic circuit that focuses the magnetic flux through the sensor helping to trigger it more reliably. It may work with out this but it might not and could very well be unreliable.
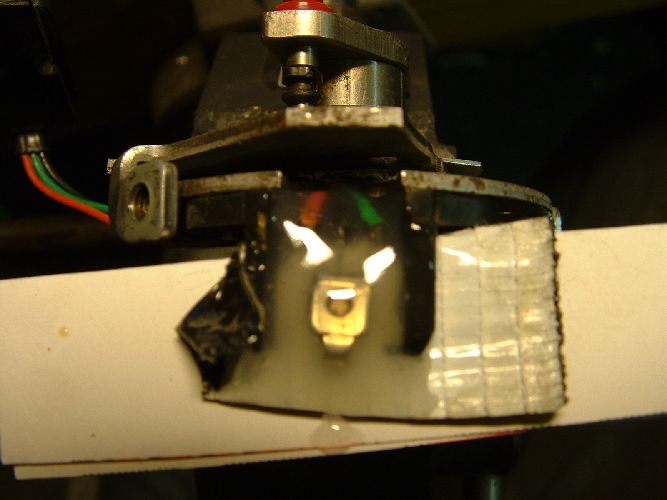
Fig 12. Big blob of two part epoxy resin, (Araldite).
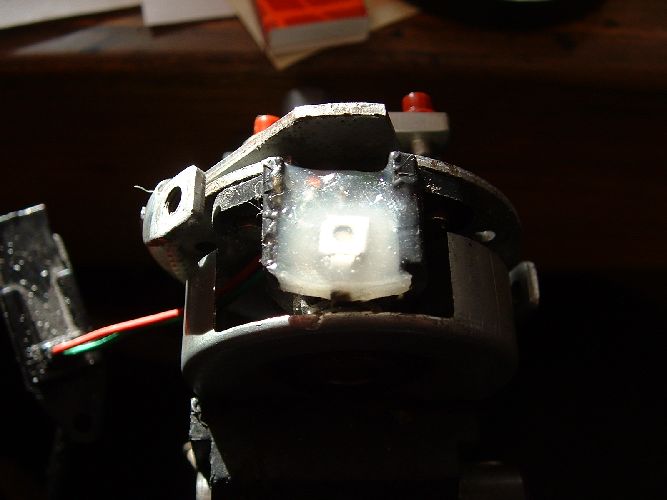
Fig 13. Resin filed into shape.
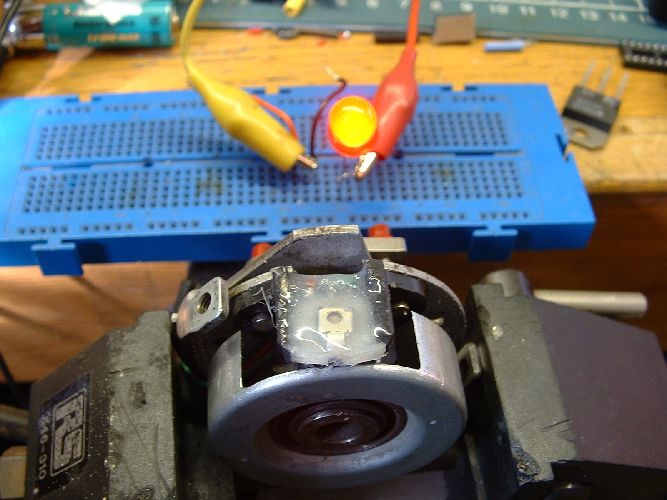
Fig 14. Testing the completed pickup - ON.

Fig 15. Testing the completed pickup - OFF.
All thats needed to do is to reassemble the can and fit it to the bike.