LED Torch Project
Back in November 1999, Everyday Practice Electronics (EPE) published the following circuit idea for powering a LED from a single 1.5 cell, and it is claimed down to 0.35V. The problem with illuminating a LED from a single cell is that the forward drop voltage of a LED is typically 2.5V for Red, Green and Orange, 4.0V for white and 5V for Blue. This is obviously greater than the supply voltage of a single cell, suggesting a minimum of 3 cells to power a white LED. To over come this a voltage booster circuit is needed and the following circuit achieves this quite simply and with only 3 components, not including the battery and LED.

Super simple circuit diagram.
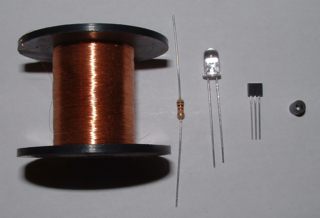
| Components: Enameled copper wire 38swg (0.15mm) 1k resistor LED The brighter, the better ZTX650 transistor Ferrite Bead |
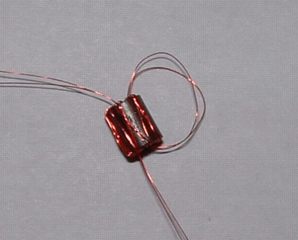
First you need to wind the transformer. Take about 1m of the enameled wire and bend it in half then wind 20 turns through the center of the ferrite bead. When finished cut the wire on the bend to give you 2 windings.
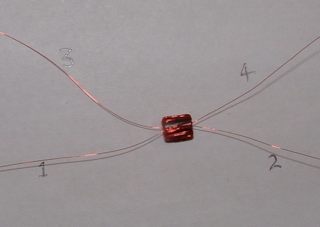
Assembled transformer. 1&2, 3&4 are the two windings.
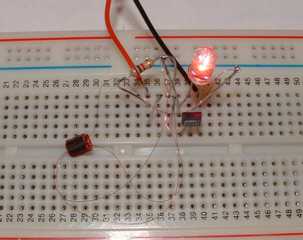
Circuit assembled for testing on breadboard. If it fails to work check you have the transformer windings connected correctly
NOTE: Be careful to connect the LED up with correct polarity as the open circuit voltage of this circuit exceeds the reverse voltage of the LED and may destroy it!
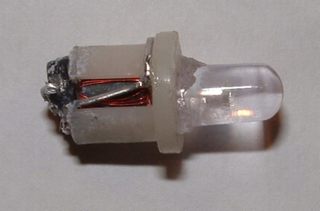
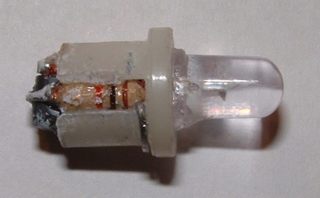
Components assembled into original bulb holder part of the torch. Lots of cunning and glue were used to get it this compact and still work.
You can see the resistor, transformer and the transistor on the end. One of the component leads is wrapped around the top of the assembly and makes contact with the torch body and one of the component leads had been bent around the transistor and makes the contact with the battery.

Components of the LED torch layed out for final assembly.